Getting Familiar with the Inbox
Here are some tips to help you with managing your conversations with your customers in the Inbox.
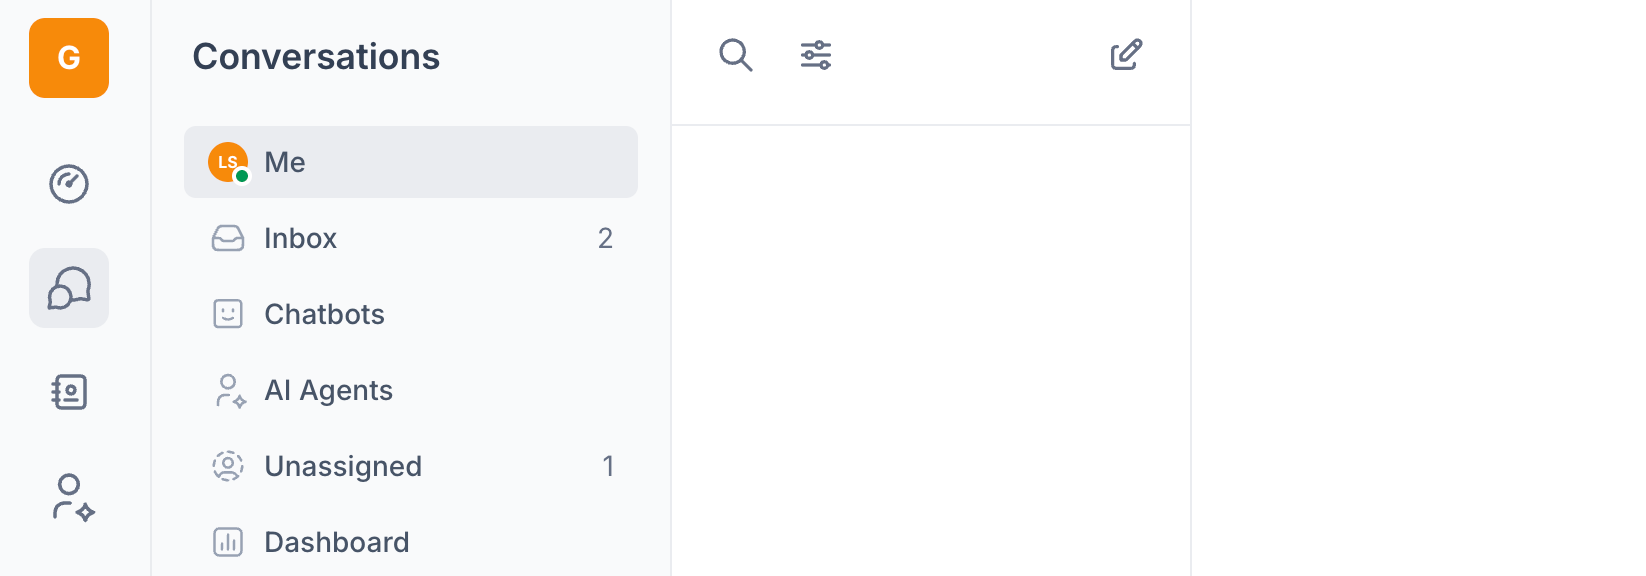
Views
On the left hand panel you will notice your inbox has different views, the default views are "My Tickets," "All Tickets," and "Unassigned Tickets."
Default Views
- Me - Ticket and chat conversations assigned to you.
- Inbox - All ticket and chat conversations you can see.
- Chatbots* - All chatbot conversations currently in progress.
- AI Agents* - All conversations currently engaging with an AI Agent.
- Unassigned - All ticket and chat conversations that have no assigned user.
* Workspace owners or supervisors have additional access to see Chatbot and AI Agent views in the Conversations nav.
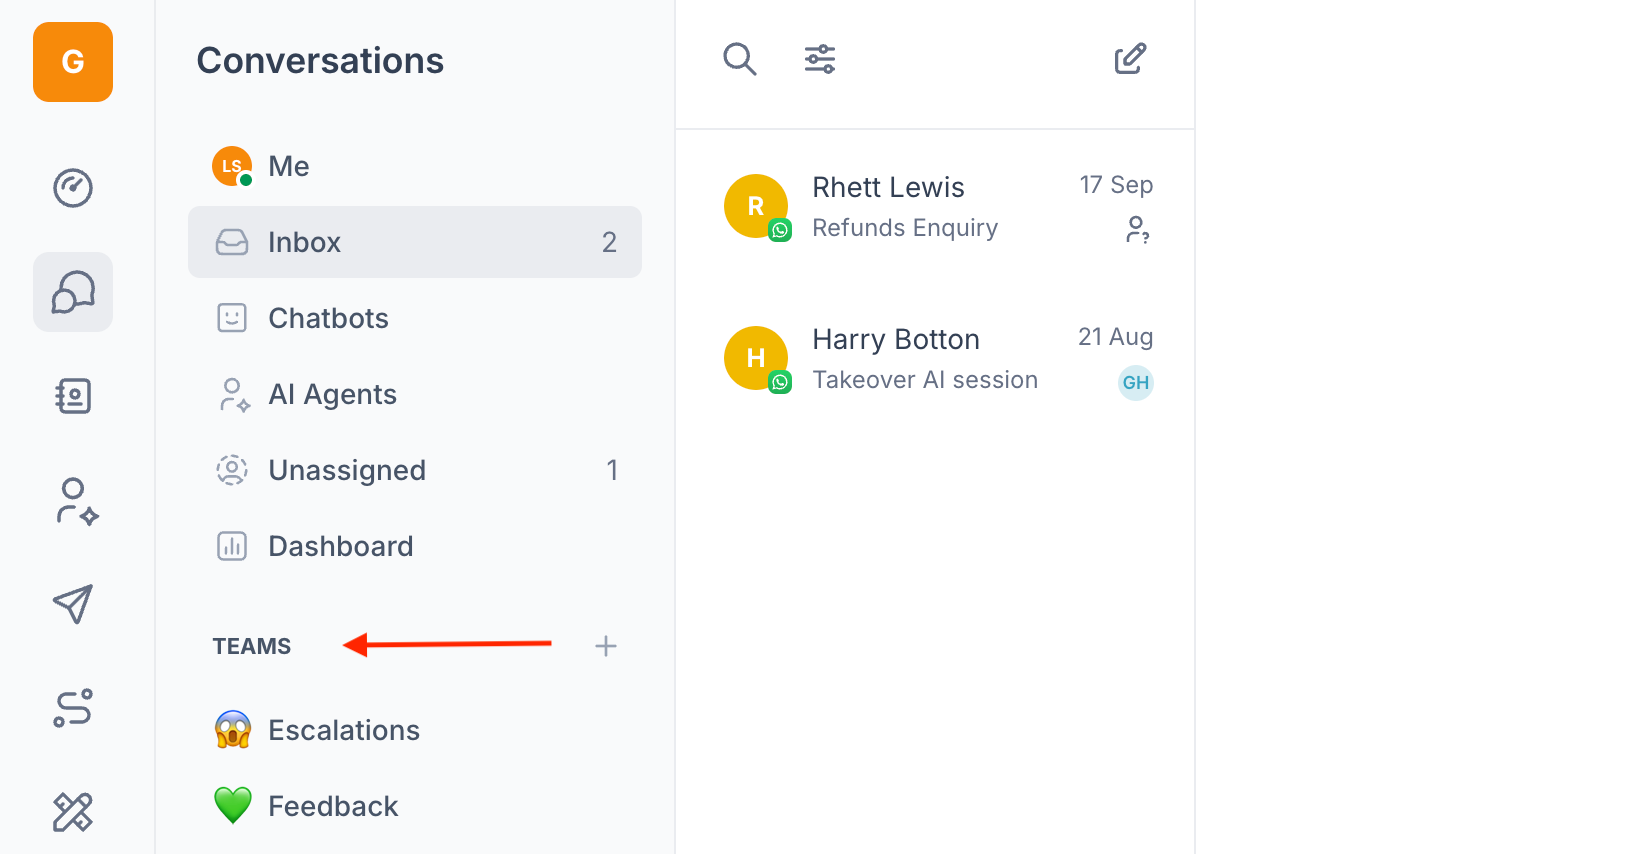
Teams
You can create teams to provide a dedicated view for each team in your organisation. Usually, people create teams for departments, company groups, client inquiries, or you can use them as organisational folders. You can then automatically assign tickets to different teams through flows.
Chat to your Customer Success Manager to see what the best set up for Teams would be for you.
Status: Open/Closed
You can switch between the open inbox view and the closed inbox view.
Open: All tickets that are currently active.
Closed: All tickets that have been resolved by the agent, and the agent has marked it as "closed". You can use the closed inbox to review the history of completed tickets.
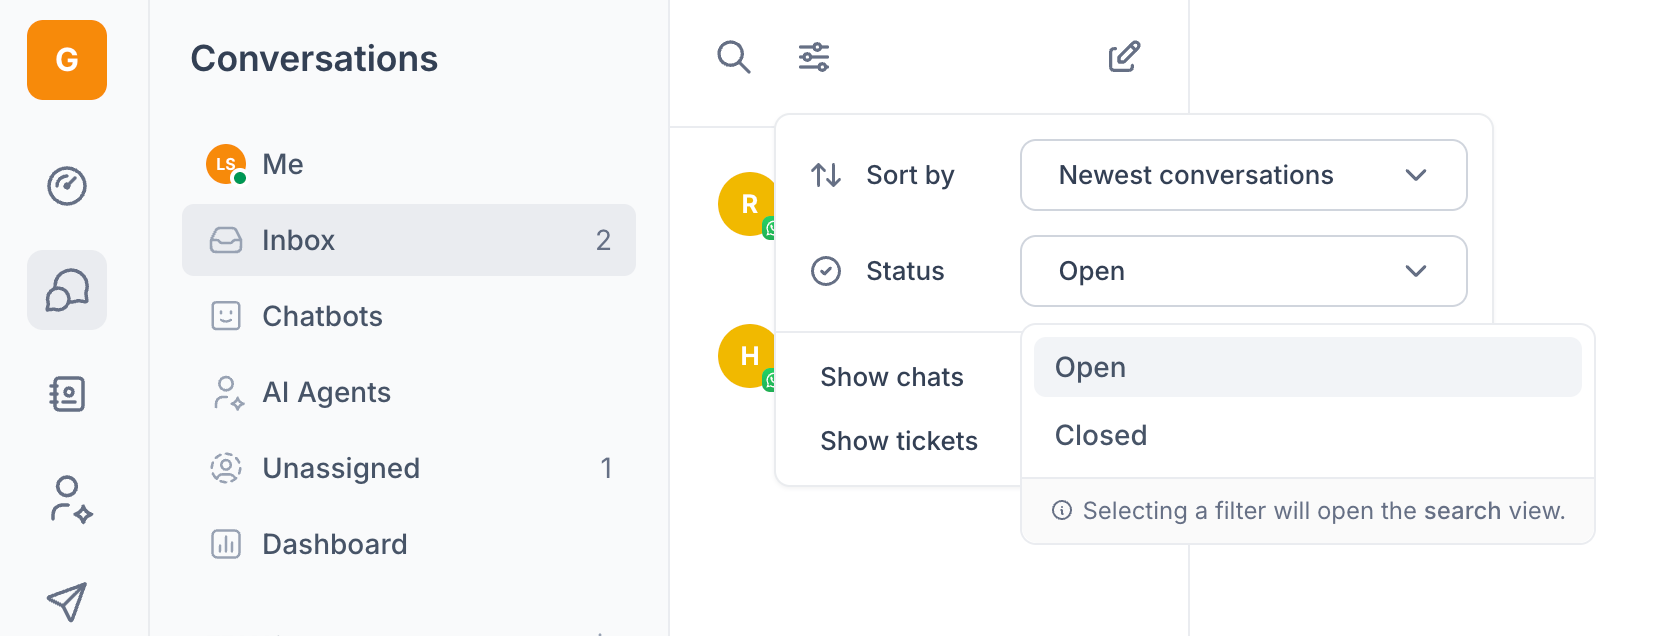

Sorting

In the Inbox, above the list of conversations, there's a settings button that helps you to sort your tickets. This button lets you sort your tickets using the following methods:
Newest conversations: Sort conversations by created date with the most recently created conversations at the top. Note: This does not refer to conversations that were most recently replied to.
Active conversations: Conversations with replies or activity from contacts or agents
Contacts waiting longest: Sort conversations by customers who have been waiting the longest for a reply from agents.
Contacts replying: Sort conversations by those that have been most recently replied to by the customer.
Contacts not replying: Sort conversations to show the ones where customers have stopped replying.
Assigning
Assigning a Ticket to a User
When a ticket enters the Unassigned folder, it will have no assignee by default. To take ownership or assign it to someone else:
Open the ticket.
On the right-hand side, locate the "Assignee" section.
Click on "No Assignee" and select the appropriate team member.
Note: Only one person can be assigned to a ticket at a time. If another team member needs to respond, simply update the assignee by repeating the steps above.
Moving a Ticket to a Different Team
With the ticket open, go to the right-hand side where the ticket info is shown.
Find the "Teams" section.
Select the appropriate team to move the ticket.
All actions taken on a ticket, including changes to the team and assignee, are tracked in the ticket history.
Now that you have all the information to manage the inbox, enjoy using the platform!