Getting started with Web Chat
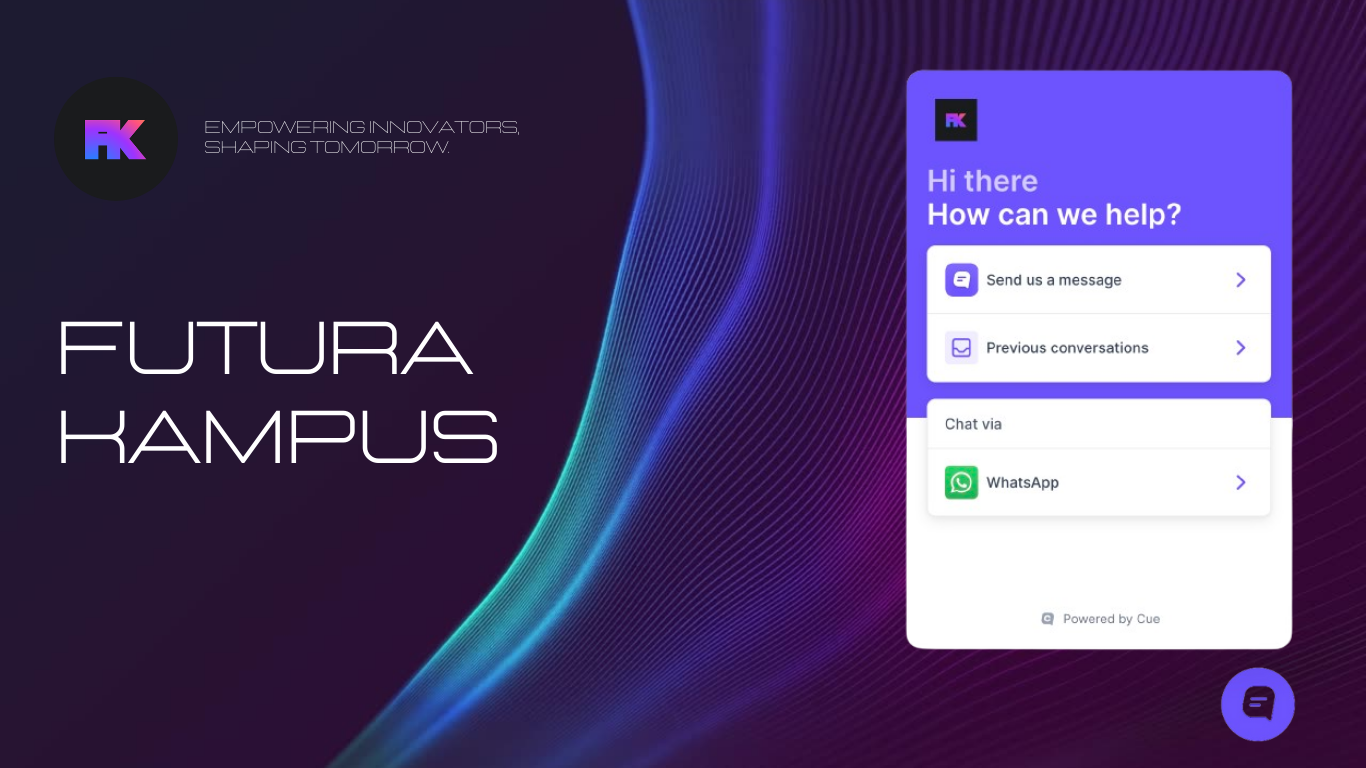
Cue allows you to embed a widget on your website that customers can use to interact with your chatbots and agents in Live Chat. This allows customers to reach you across multiple channels, not just via WhatsApp.
In the guide below, we will explain how to create a Web Chat widget, connect a chatbot flow, and customise and embed the actual widget onto your site.
Set up a Web Chat channel
Before creating a Web Chat flow, we need to ensure that the Web Chat channel has been created on your Cue account. We will help you with this step!
You can request a Web Chat channel to be added to your account by emailing support@cuedesk.com and we will gladly assist. Please remember that the turnaround time for these requests is dependent on your support package.
Set up a Web Chat flow
Once a Web Chat channel has been added to your workspace, you can then proceed to set up a Web Chat flow yourself. In this step you will be creating the actual user journey that a customer will follow when they message you via Web Chat.
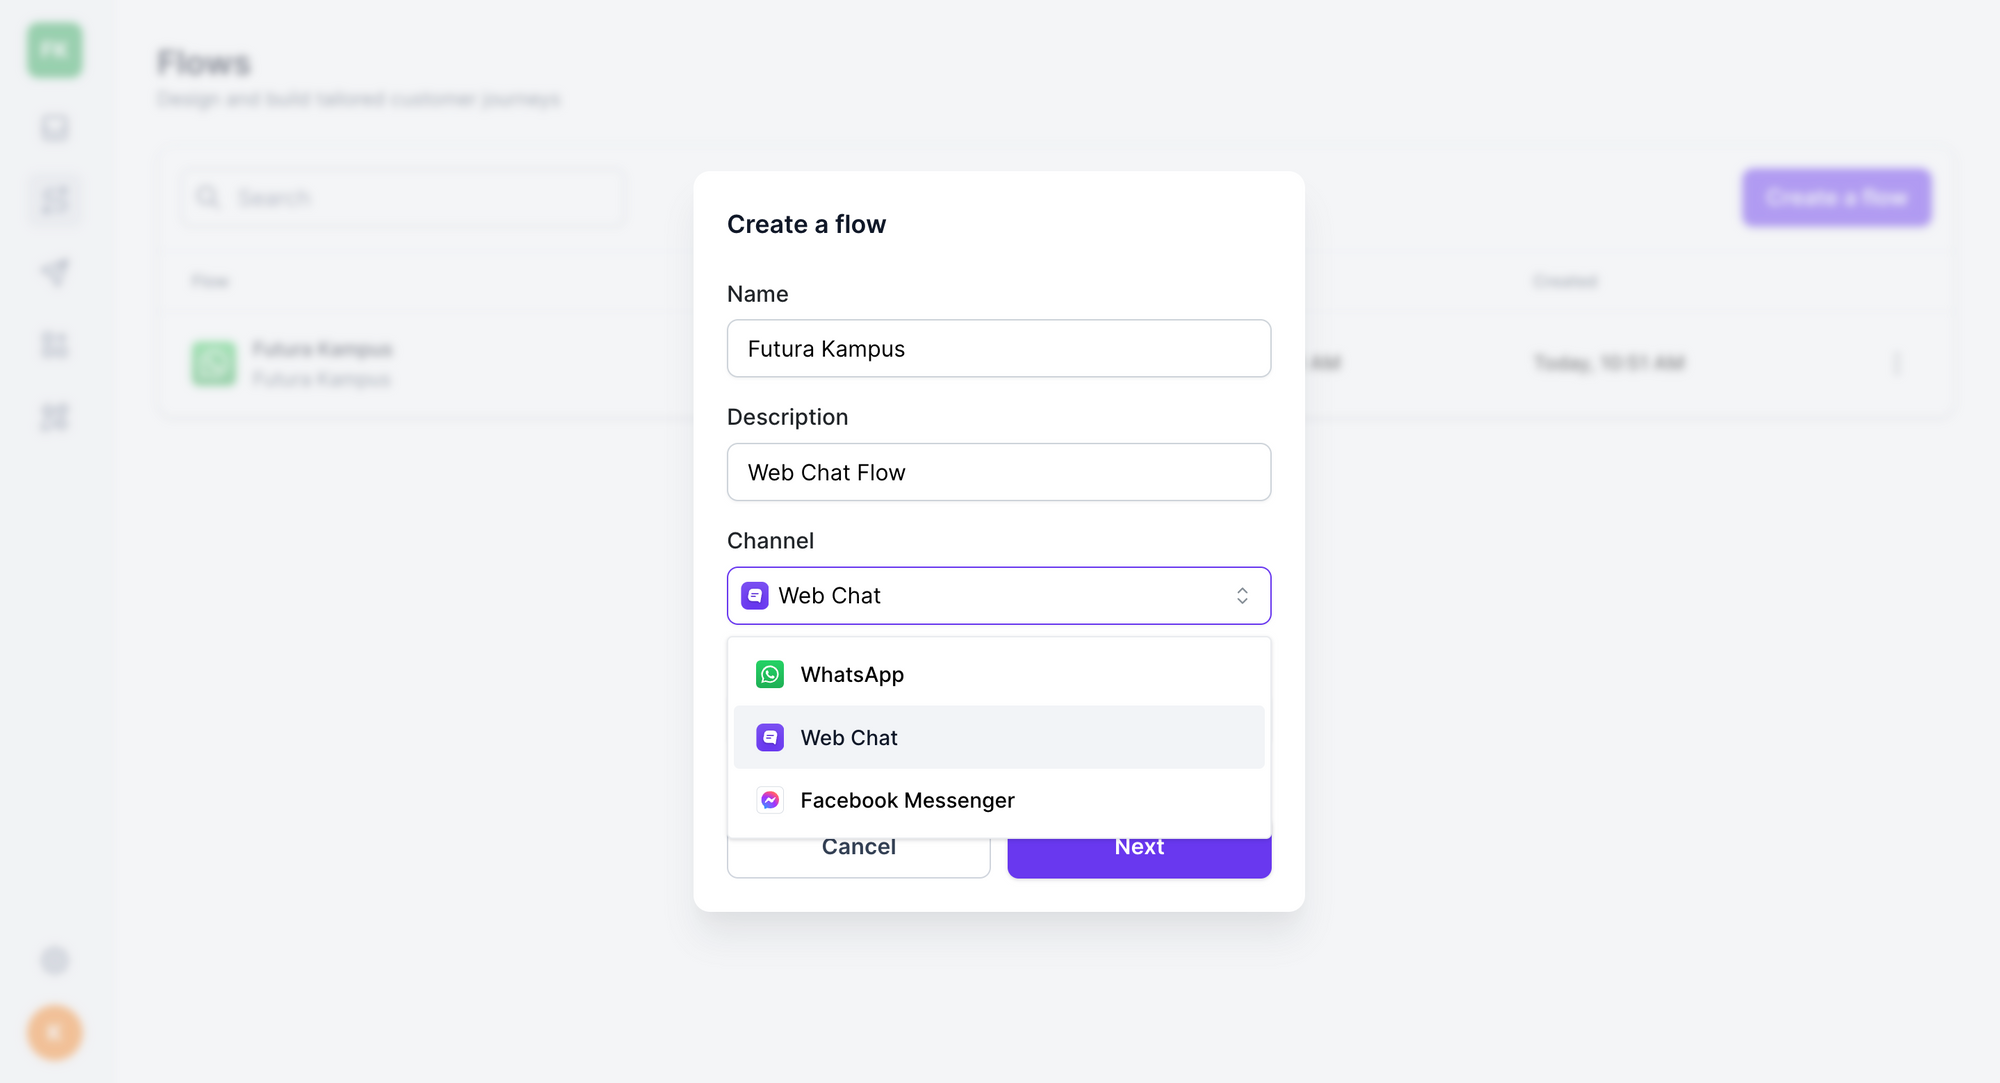
To create a new Web Chat flow, you can do the following:
- Open app.cuedesk.com
- Navigate to the 'Flows' page in your workspace.
- Click 'Create Flow'
- Give your flow a name and make sure to select 'Web Chat' under channel type
- Click 'Next' to create
Now that the Web Chat flow has been created, you have an environment to build out the specific messages you want within the flow eg. add multiple automated responses, load media, link to your LiveChat inbox etc.
See our 'Build chatbots with flows' article for more detail on how to do this.
Set up a widget
Once you have created a Web Chat flow, you need to create the widget to be embedded on your website.
You will then connect the Web Chat flow to this widget.
To set up a widget, go to:
- Tools > Widgets > Create
- Give your widget a name
- Choose the channels to be linked and displayed on the Web Chat widget

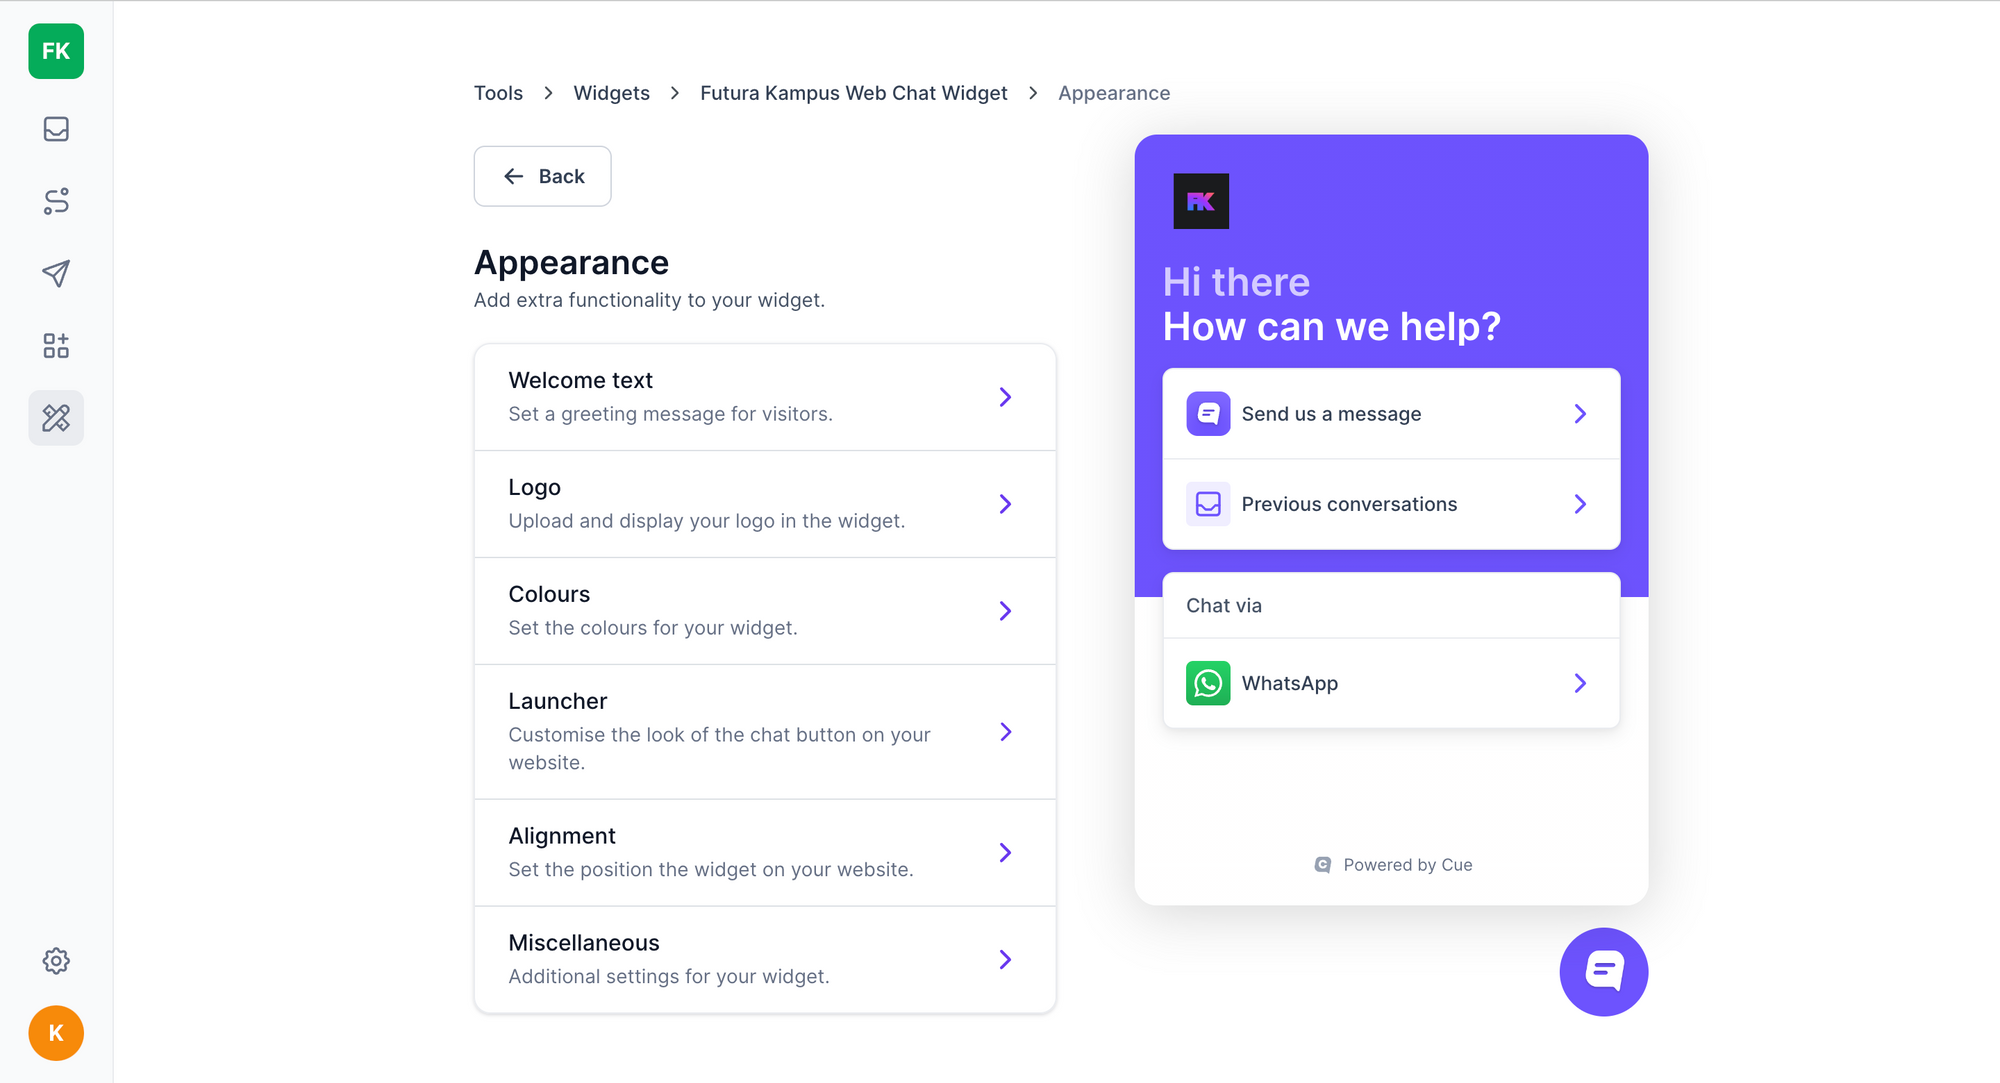
Customising your widget
Once you have created the widget you can customise multiple elements to fit in with your website and brand.
To edit your widget, go to:
Tools > Widgets > Select the name of the widget you want to edit
- Appearance: add your company logo, edit the widget colours and adjust the positioning of the widget on your website.
- Channels: view the channels linked to your widget.
- Notice: include relevant/important information for website users to take note of e.g. office hours, company news etc.
- Allowed domains: limit the pages on which the widget is displayed on the website
Embedding your widget
Your widget is now ready to go live on your website 🚀
You can find the widget HTML code to be embedded on your website on the same page as the customisation options. You'll see the 'Copy embed code' button at the bottom - this is what you need!
To embed the Web Chat widget on your website:
- Copy the HTML code and embed it on your website right before the </body> element. If this is a bit technical then you can just share the embed code with the the person who manages your website and ask them to do this part for you.
2. Once embedded, the Web Chat widget will pop up on your website for users to engage with.